If you love making a statement with your manicure, there’s nothing more versatile than acrylic nails. But fill after fill can bring about the question: is it time for a nail detox? While it’s true that polished nails can still be healthy nails, excessive use of paint, gel, and acrylics can take its toll on our nails over time.
Here we answer how often you should take a break from acrylic nails, and how you can help restore your brittle, damaged nails to their best with a nail strengthener.
Table of Contents
Do I really need to let my nails breathe?
Nails don’t take in oxygen from the air, so you don’t need to give up polish to keep them healthy. But they do need proper care and could need a breather at times.
Nails can become discolored due to pigments in polishes. Or you might notice white patches appearing on your nail after incorrect polish removal. A pause every once in a while can help prevent yellowing and chipping.
While there’s not a defined time frame that works for everyone, you should make sure your nails are properly cared for. It’s not a good idea to let damage build up. A tell-tale sign that it’s time for a break from acrylics is when your natural nail is no longer bright pink and smooth. Talk to your manicurist and ask their professional opinion too — then you can decide whether your nails need a hiatus every few weeks or months.
Wait… are acrylic nails bad for you?
We won’t go that far, but they can definitely be tough on your nails and the skin on your hands. Over-manicuring, poor-quality manicures, and applying polish to already damaged nails can make them more brittle. Plus, these factors can cause thinning of the nail plate – the hard part of the nail made up of keratin.
For example, gel manicures can cause nail dehydration and thinning if used in excess and especially if not correctly applied with a gel base coat. Acrylic nails can also damage the nails in the longer term, as the surface of your natural nails is filed down for application, weakening the natural nail.
What about gel nails?
When it comes to gel nails, one thing to consider is the curing process. Most gel nails need ultraviolet (UV) light to harden. And gel nail polish plus UV radiation can actually harm the keratins in nails, potentially making them more fragile.
Beyond your nails, are there risks to your skin when using UV-curing lamps? The American Association of Dermatology recommends going to a nail salon that uses an LED curing light instead of a UV light. While LED lamps still emit UV radiation, it’s less than with a UV curing light. An LED light also cures more quickly, reducing your hands’ exposure to UV rays.
But, it’s always a good idea to wear broad spectrum sunscreen daily – even on your hands!

Can I remove fake nails myself?
Before you start your break, you’ll of course have to remove your gels or acrylics. While it’s usually best to leave this to the professionals – and all the better if you can – there may be moments when you can’t make it to the salon.
If your fake nails start to fall off or chip, it’s important to remember not to pick at them, and to try to remove them in a way that causes less damage to your natural nails.
In case you need to remove your fake nails or gel polish at home, you’ll need nail polish remover, cotton wool, nail scissors, a nail file, and tin foil.
Here’s a step-by-step guide to taking acrylics off yourself:
Step 1
Clip your nails (acrylic, acrylic and real, or gel-covered) down using the nail scissors. Of course, you may want to keep your nails long, but the shorter they are, the easier it will be to remove your fake nails.
Step 2
Take your nail file and gently smooth the top of your nails, trying to make the gel or acrylic as thin as possible.
Step 3
While you could simply soak your nails in polish remover, this will expose more of your skin to the remover. First, soak cotton wool pads or balls in polish remover. Then wrap your nails in individual squares of pre-cut tin foil, securing the cotton ball on top of the nail. One tip? Settle in to watch your favorite show, as you need to keep the foil on your nails for 30-40 minutes.
Step 4
Lift up one of your foils to check on your nails, and if the acrylics have soaked off. Once they have all been removed, buff your nails to remove any smaller pieces.
Step 5
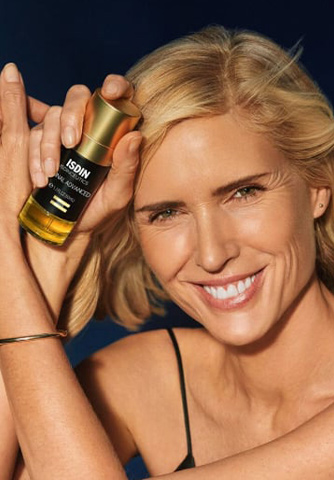
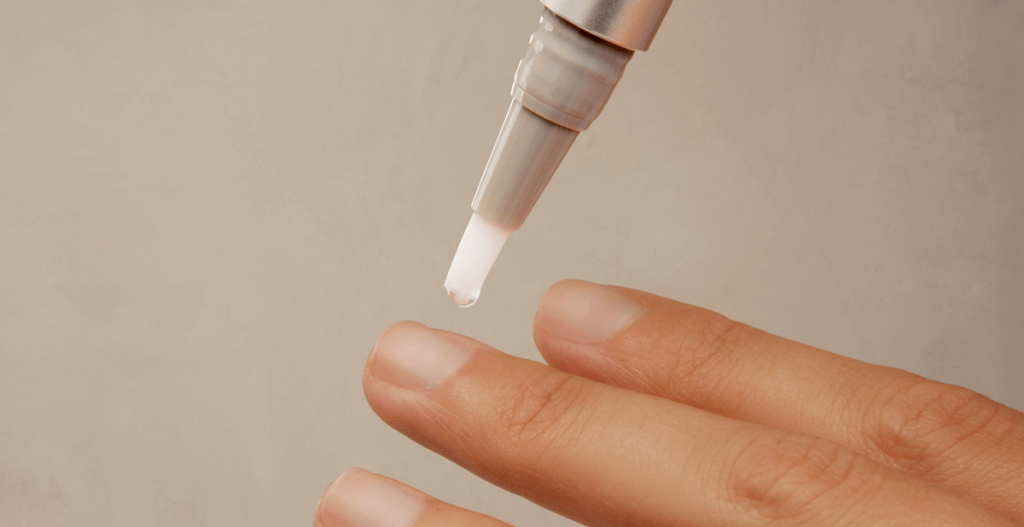
Wash your hands and nails and gently pat them dry. Then, hydrate, hydrate, hydrate! Finish with a hydrating nail strengthener that you can apply over your nails and cuticles, like ISDIN Si-Nails.

How can I strengthen my nails after acrylics or gel?
Once you’ve removed your gel or acrylic nails, you can start to care for them with a targeted nail product. Look for a formula that strengthens and hydrates the nail structure while providing it with the components it needs to look and feel healthy again.
And what are these nail-boosting components? Let’s check them out:
Keratins
Keratins are an important building block for strong and resistant nails. ISDIN’s Si-Nails boasts resin from Pistacia lentiscus gum to help support keratins and boost nail hardness.
Silicon
Silicon is one of the predominant minerals in the nail. Ingredient silanediol salicylate promotes silicon, a crucial step in growing healthy, beautiful nails.
Hydration boosters
Hyaluronic acid is one of the most well-known skin moisturizers — but did you know it can also help hydrate your nail plate? Take Si-Nails nail strengthening product as a case in point. The cationic hyaluronic acid inside helps boost nail flexibility and revamp the look of nails and cuticles.
The final coat
Even if you decide to go back to polish, gel, or acrylic nails, do your best to give them ongoing hydration care and visit a professional nail tech for both application and removal.
If your nails are damaged, keep up with nail strengthening care until your nails are restored, stronger, and healthier – and afterward if you want to maintain your hard work! With the right treatment, you’ll be well on your way to healthy, beautiful nails.
Behind the blog:
Article written and reviewed by:

Our namesake embodies the spirit of embracing life and all its wonder. As wellness journalists, we explore topics that invigorate the senses and keep curiosity alive. We believe that glowing skin is the result of a healthy body and mind. Weaving beauty with science, we aim to inspire you to live young at every age.